Sunday, March 31, 2013

Mega Heart Swap

Last month i saw a pretty heart sampler on Rebecca Sower's blog you can see HERE.  I shared it with my artsy friends and we all agreed we would like to try it.  We started with the instructions to create two different styles of hearts, 6 of each.  One to keep and 5 to swap.  Well, we all went crazy creating hearts and did not stop until we had each made over 50!
This is how it played out....
First Z layed out all her hearts on the table - we eached picked one or two of each type.  There were fabric, and paper machier, and cute paint chip hearts with love-y dove-y paint chip names like Karen's Kiss!
Here are the 7 i picked for myself.  She did some embossing of metal packaging - love the limonata heart!
Next my hearts were strewn on the table and everyone could choose one of each type.  There were dominoes, resin paper, mini collages with faces, plaster, flash cards and so much more.
Here are more i made with vintage trading stamps, and old envelopes with european stamps.
Queen of hearts, glitter hearts on dominoes and some handmade paper.
Seriously - we could not stop!  There are weathered copper mesh and vintage wallpaper with mini wooden birds. 
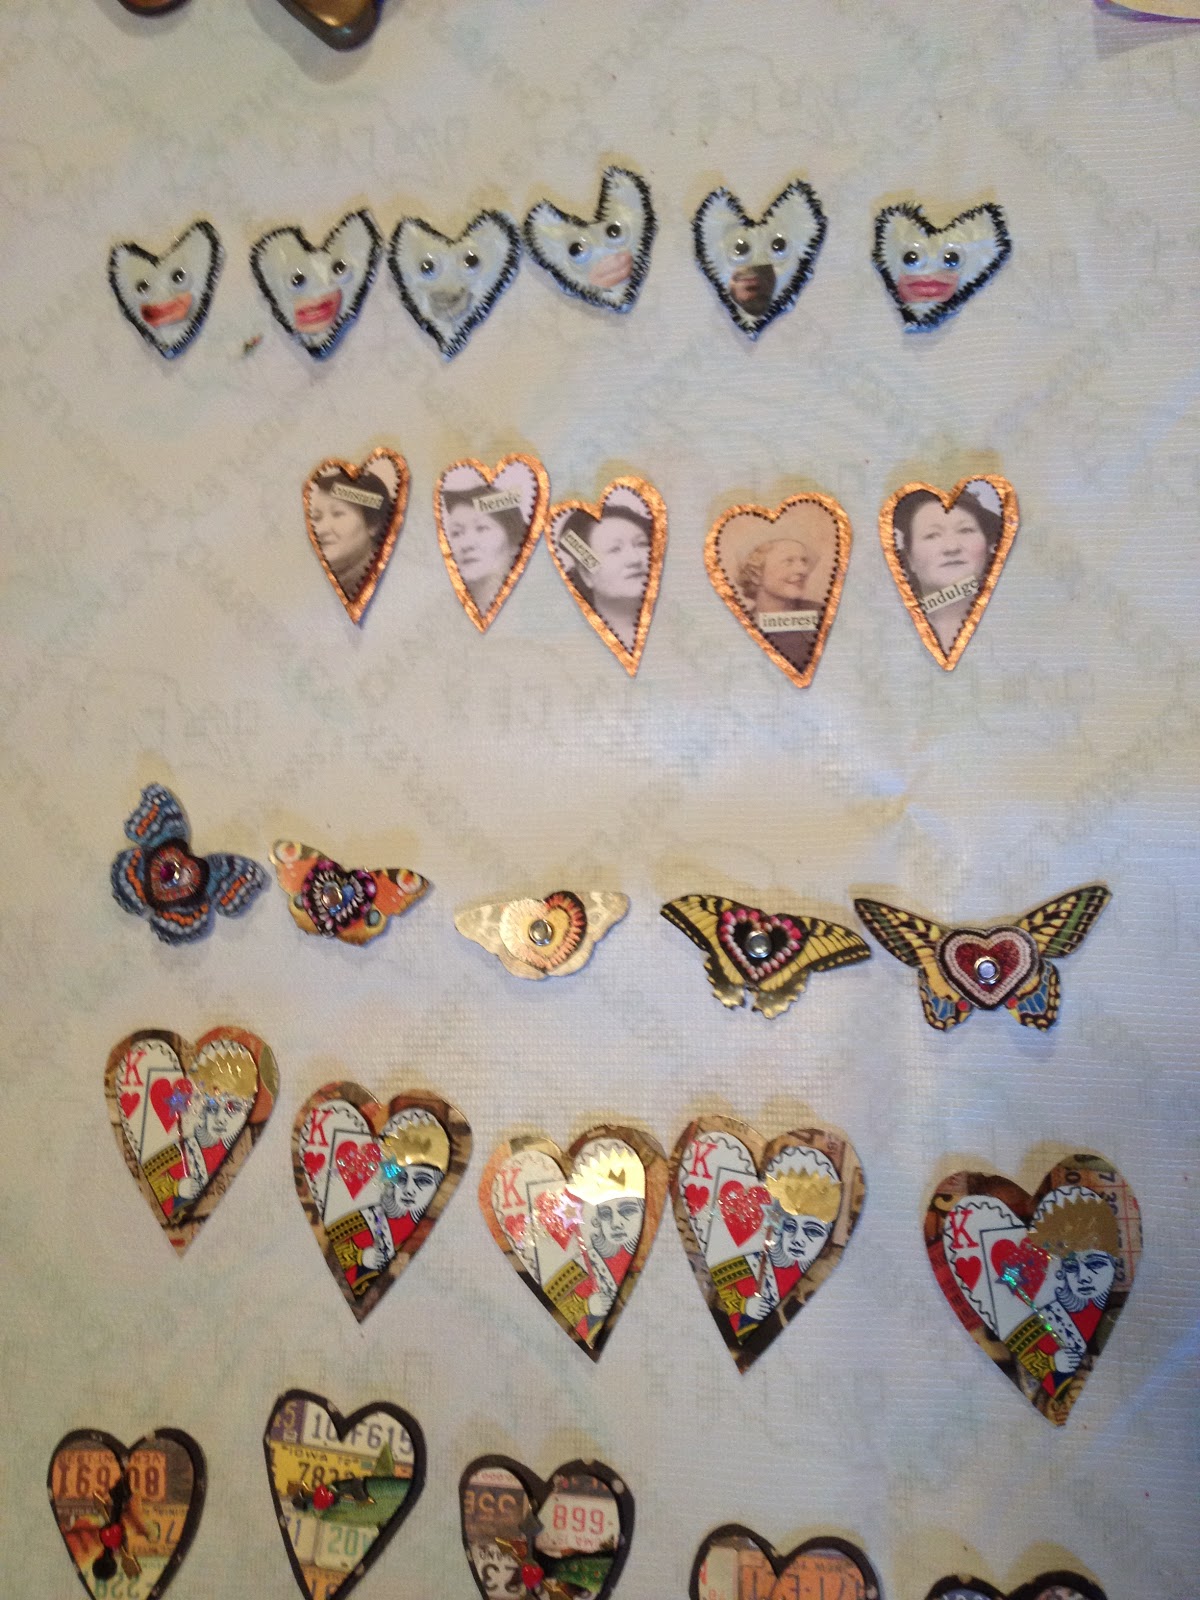
 WHOA!  Here are all the hearts K brought to swap with us.  We went around the table taking turns choosing.  It was absolutly like kids in a candy store - just look at those luscious hearts!
 Here are some of D's hearts.  She did some sewing on bubble wrap with googly eyes, copper backed faces, layered playing cards and some compass spinner hearts.
 Here's a closeup!
Here is more from D - colourful collage with faux stitching, saints with beads dangling.
Here is another look at K's clay hearts.
 Here are some of the beautiful hearts that L sent us from Washington state!  collages, beeswax, stitching, buttons - so much fun!
 Here are some of S's hearts for swapping.  The dark ones are lace and beautiful in person.  She had silver foil aned embellished copper.
 More of S's hearts - assorted textures and colours.
 Here are the hearts from S which i picked out.
Here are all the hearts we will be sending to our art buddy in Port Townsend!
Here is how all my swapped hearts look layed out on the canvas i prepared at home.  I attached most of them with tacky glue and some with 3d glue dots.
D is waiting for her canvas to dry - and went with a dark background.
S is creating a small book for all her hearts - she'll had phrases to each page.
Z is creating a frame and wire structure to hang her hearts and some family photos.
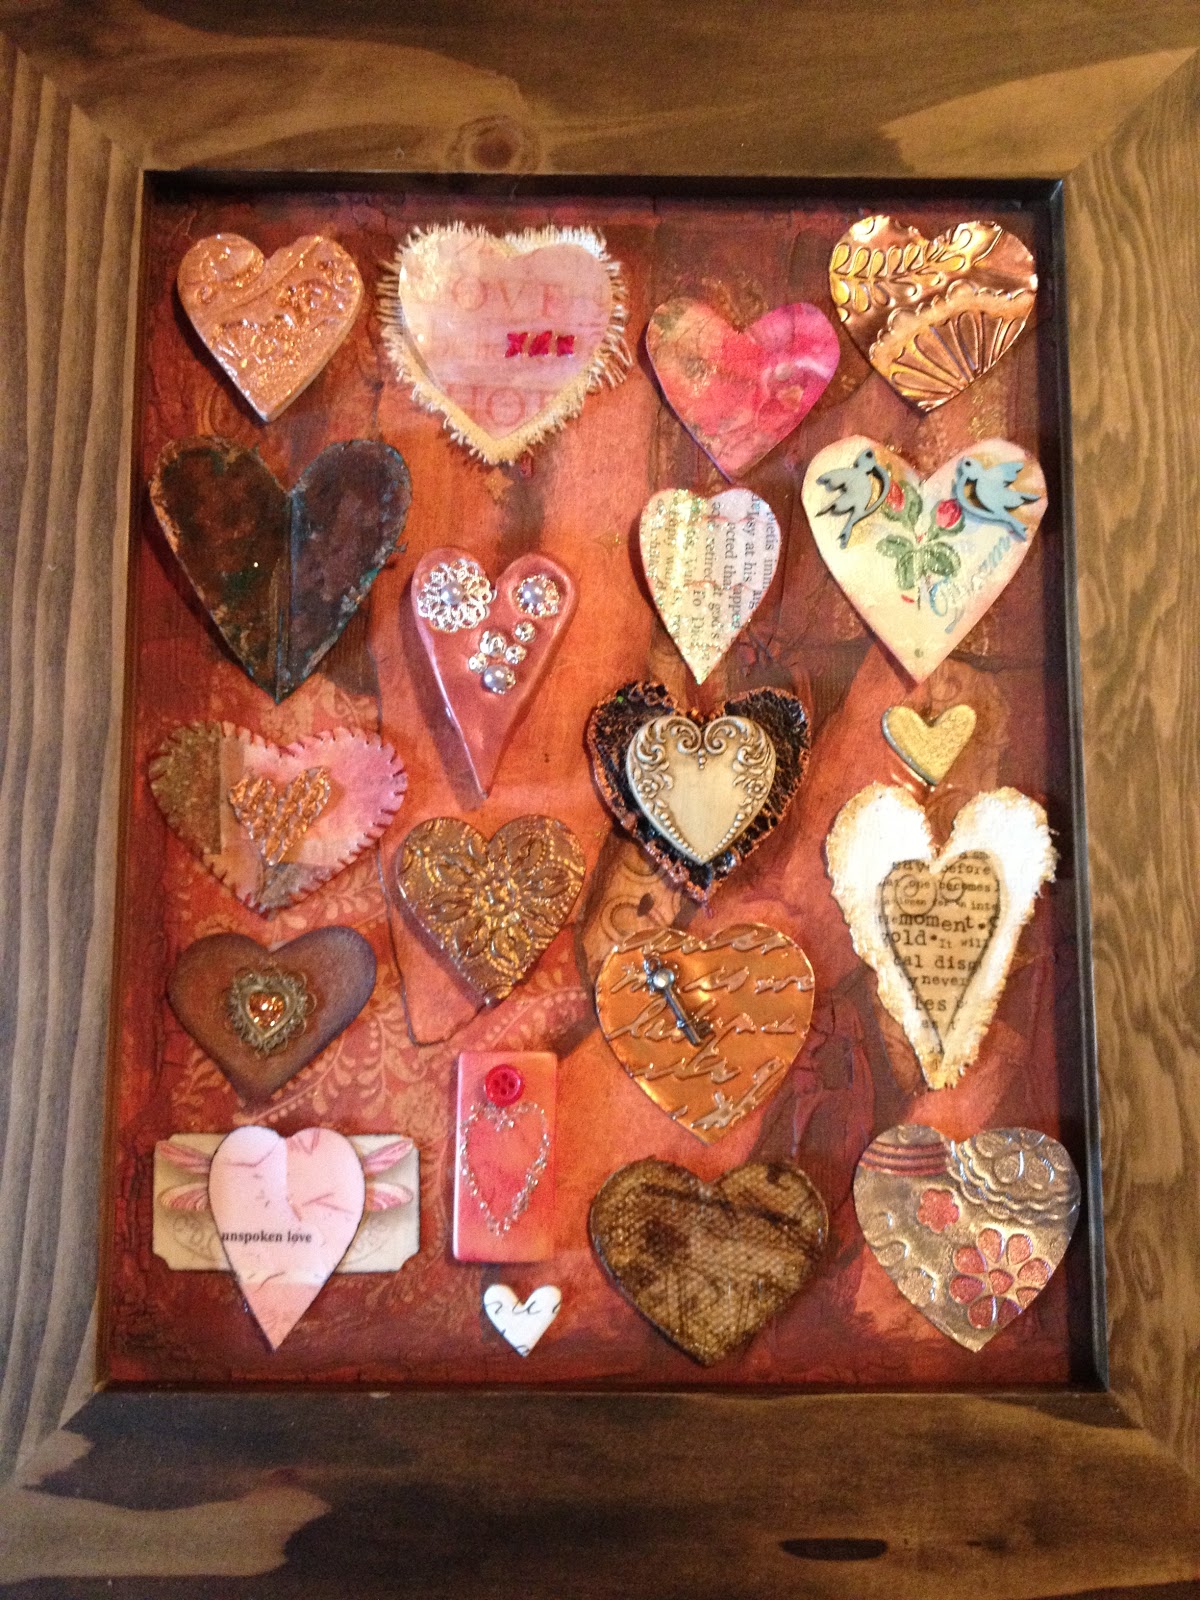
So K was the only one with a finished project for me to photograph.  She created a richly hued canvas background and chose to use only the hearts with pink and copper-y colours.  How beautiful!
Thanks again to Rebecca Sower for the original inspiration!

Altered Calendar Swap - Once Upon a Time

 For the month of March i had the pleasure of working in K's book - a fairy tale of sorts, where you continue a story she began about a special little girl, her fairy godmother, and a wicked landlady.  Meant to serve as a "do it yourself" story book to read to her grandaughter, we were to add fanciful pages that tell a story, but don't limit the imagination of the viewer.  I started  with a picturesque cottage and covered it in rose stickers.  i added a litte poem that i cut up and rearranged.  The background was from an Anthropologie catalog.
 For my next spread i created a room with sunny windows covered in lavish green floral "drapes" where the girls could curl up on the tufted couch and read all day long from the piles of books.
 My third spread features one of those pictures you tear out of a magazine, or see online and just love looking at.  this pretty damsel will portray the evil landlady Esmerelda in the story.  The model was originally centered on the page, so i had to splice the image background on the left.  A few dabs of green marker tie it together.
The sign in tag is a little card where you can write your version of the story, but is not required reading to enjoy this delightful and whimsical book.
As has become our custom, we often bring goodies to share with the ladies in our play date group.  here are some textured papers and ribbons we each got to take home.

Wednesday, March 27, 2013

Paper Clay Chicks

This past weekend my husband and i went to Scottsdale Arizona for a baseball spring training weekend with another couple.  While the guys saw a game on Saturday, Z and i took a paper clay workshop with the delightful Jenny Hernadez of the Polka Dot Pixie.  The class took place at a charming and very well organized craft store in Chandler, AZ called CraftFusion.    
Forgot to take a picture of the armature base - but it was two foam balls with wire feet.  Jenny prepared them in advance so we would have enough drying time, so we could paint.  Our job was to take thin layers of paper clay and smooth it over the foam balls.  Then make a face shape with cheeks and a beak.  We added a cracked shell base and little feather-y wings. 
My chick had dots on the shell which i poked with a skewer, but painted dots would have worked just as well.  After painting we gave it a coat of clear finish spray.
We were also given a little paper box to paint inside and out.  I used a pretty blue.
Here is a side view of my chick showing his (her?) silly profile!
Here he is part way through the painting with cheeks, dots, beak and legs painted in lively spring colours.
Next it was time to add some antiquing.  Some watered down paint was used to "glaze" the box and the chick.
Here is Jenny's sample bird.  How adorable!  We had a choice of a box for a base or the simple wodden disc. You can see how the crevices take on the antiquing and give it a much more substantial and "artsy" look.
This bird was done by one of my fellow students, Kristy.  Love the dots on her hat and the glittery silver pipe cleaner trim.
This pretty bird was done by my friend Z.  She is going to look for a little straw hat for her!  Won't that be darling!  She looks like she is in the middle of of song!!
This chick was done by another student, Suzie.  She had taken classes with Jenny before, always a ringing endorsement for a teacher to have repeat students.  The birds get propped up against a cup or bottle while they dry.
Since Suzie was a little speed demon, she had time to make a SECOND creature.  This will be a bunny when the pink ears and belly are added.  Love those wide feet!
Once again - my finished bird.  I added pompom trim to his little striped hat and some ribbons and lace (frippery you might call it) to the base.  We LOVED taking this workshop with Jenny and would highly recommend that you take a class with her if you are ever in the AZ area.  She also travels to teach and sell her creations.  In Northern California please check her out at Petaluma's Halloween and Vine arts and craft show.